Play Training
Edit Campaign Details
Number of Guide Steps: 8
The Campaign Details screen stands as a pivotal hub within Vision VX, orchestrating a seamless convergence of sales, clients, and sales enablement teams.
Its paramount role lies in facilitating a smooth transition from the initial proposal stage to the meticulous execution of a successfully sold campaign.
Understanding and harnessing the functionalities embedded in this screen is key to achieving coherence and accuracy in the campaign lifecycle.

- 1. Navigate to the Campaign Details Screen
- 2. Edit Product Details
- 3. Type Selection for Some Products
- 4. Duplicate Product Lines (for Flighting)
- 5. Ignore Sales Enablement Only Fields
- 6. Verification with Green Checkmark
- 7. Budget Alterations
- 8. Error Handling
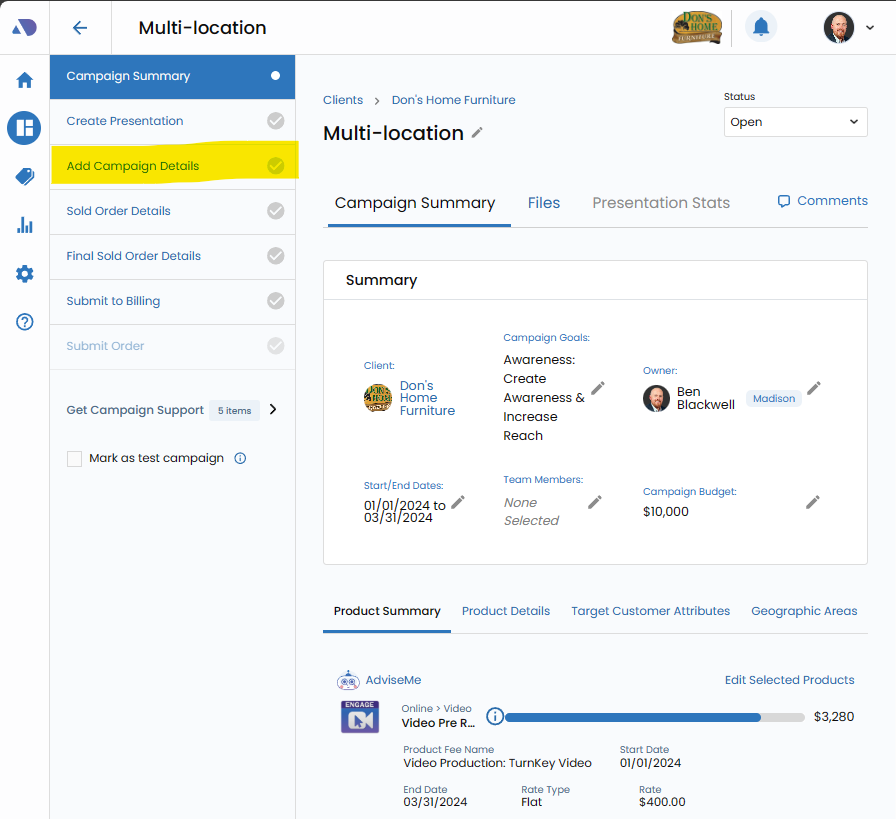
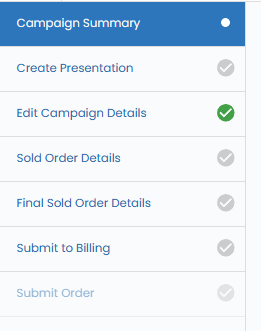
Navigate to the Campaign Details Screen.
Access the Campaign Details screen, the nucleus where the intricate details of the campaign come together for comprehensive management. This is accessible on the Campaign screen, on the left-hand workflow area.

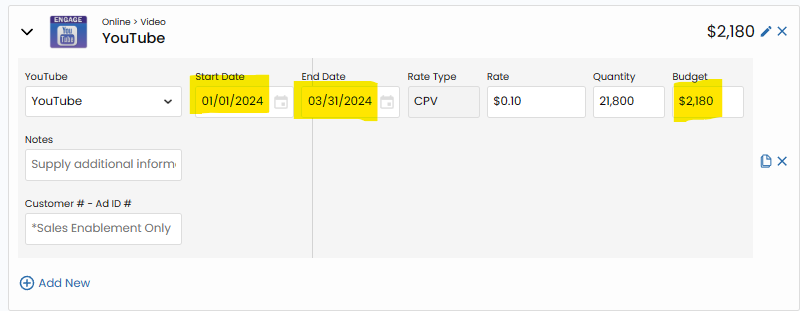
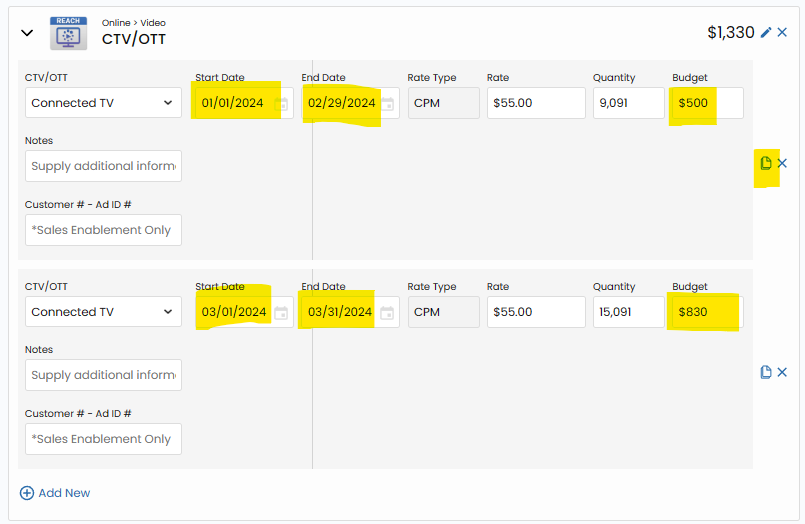
Edit Product Details.
Within the Campaign Details screen, each product is represented with a dedicated detail line. This is the canvas for refining various aspects of the product, such as start date, end date, budget, and size (particularly relevant for print campaigns).

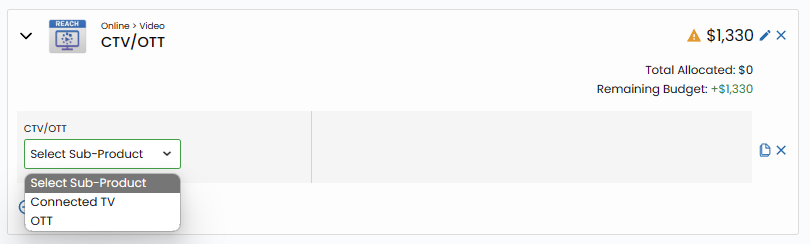
Type Selection for Some Products.
Certain products may necessitate a type selection to generate accurate details.
For these products, select the appropriate type from the drop-down menu to ensure precise configuration.

Duplicate Product Lines (for Flighting).
Achieve greater flexibility in campaign planning by duplicating product lines.
This functionality proves valuable when flights for different amounts are desired for specific products throughout the campaign duration.

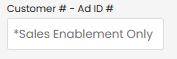
Ignore Sales Enablement Only Fields.
Exercise caution with fields marked as Sales Enablement Only.
These are reserved for the go-live process outlined in the Orders playbook and should not be edited during the campaign creation phase.

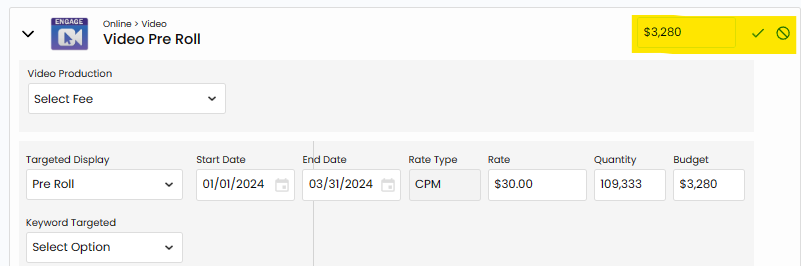
Verification with Green Checkmark.
As each product's details are meticulously configured, a reassuring Green Checkmark will be displayed. This symbol serves as confirmation that the information has been accurately and fully set up.

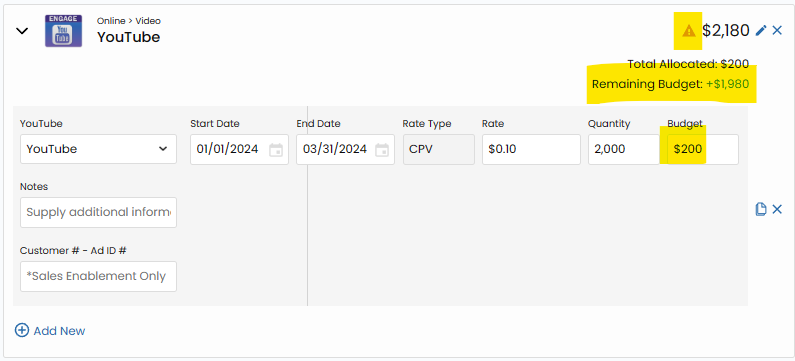
Budget Alterations.
Fine-tune the budget for individual products or groups of line items using the pen tools adjacent to the product amounts. This capability allows for dynamic adjustments to align with evolving campaign needs.

Error Handling.
In the event of an error code, carefully review the associated alert.
Often, errors are attributed to misalignments between the configured budget during campaign creation and the budget assigned to the product.